Unit 8: Managing Users
Operator |
Operation Location |
|---|---|
OU Administrator |
EnOS Application Portal > Admin Console |
This unit describes how OU administrators create Application Portal user accounts and configure users’ application, asset, and operational permissions.
Step 1: Creating Users
In the EnOS Application Portal, OU administrators can create user accounts through the following methods:
Creating individual users
Batch importing users via templates
In this tutorial, the OU administrator needs to create the following users:
Analyst-1: An analyst from the Eastern Branch Office who primarily analyzes wind turbine data across the entire group.
Analyst-2: An analyst from the Eastern Branch Office who primarily analyzes solar equipment data within the Eastern Branch Office.
Analyst-3: An analyst from the Southern Branch Office who primarily analyzes wind turbine data across the entire group.
Analyst-4: An analyst from the Southern Branch Office who primarily analyzes wind turbine data from wind farms under the Southern Branch Office.
Monitoring Personnel-1: Wind turbine monitoring personnel stationed at Eastern Wind Farm 1.
Monitoring Personnel-2: Solar equipment monitoring personnel stationed at Eastern Solar Power Station 1.
Monitoring Personnel-3: Wind turbine monitoring personnel stationed at Southern Wind Farm 1.
Monitoring Personnel-4: Wind turbine monitoring personnel stationed at Southern Wind Farm 2.
Method 1: Creating Individual Users
In the left navigation pane of the EnOS Application Portal Admin Console, select Users.
Select Add User to open the Add User pop-up window.
In the pop-up window, enter the user’s email (e.g.,
data-1@univers.com) and select Search.At this point:
If the email already exists in another OU of the current environment, you can directly select the user bound to this email from the search results below the search box and choose Confirm.
If the email does not exist in any OU of the current environment, select New User, choose Internal Account in the New User pop-up window, enter the username (e.g.,
Analyst-1), and select Submit.
Repeat the above steps to add the following users.
Email
Type
Username
data-2@univers.comInternal Account
Analyst-2
data-3@univers.comInternal Account
Analyst-3
data-4@univers.comInternal Account
Analyst-4
om-1@univers.comInternal Account
Monitoring Personnel-1
om-2@univers.comInternal Account
Monitoring Personnel-2
om-3@univers.comInternal Account
Monitoring Personnel-3
om-4@univers.comInternal Account
Monitoring Personnel-4
For more information, see Creating a User.
Method 2: Batch Import Users
In the left navigation pane of the EnOS Application Portal Admin Console, select Users.
Select Batch Import to open the batch import page.
Select Download Template, edit the user information to be imported in bulk according to the instructions in the template file. A maximum of 1,000 user records can be imported at a time.
Note
To simplify the process, OU administrators can download this
sample user templateand upload it to the Application Portal.Upload the edited template file and view the import results. If the import fails, select Download Import Failure Records, modify the file, and upload it again.
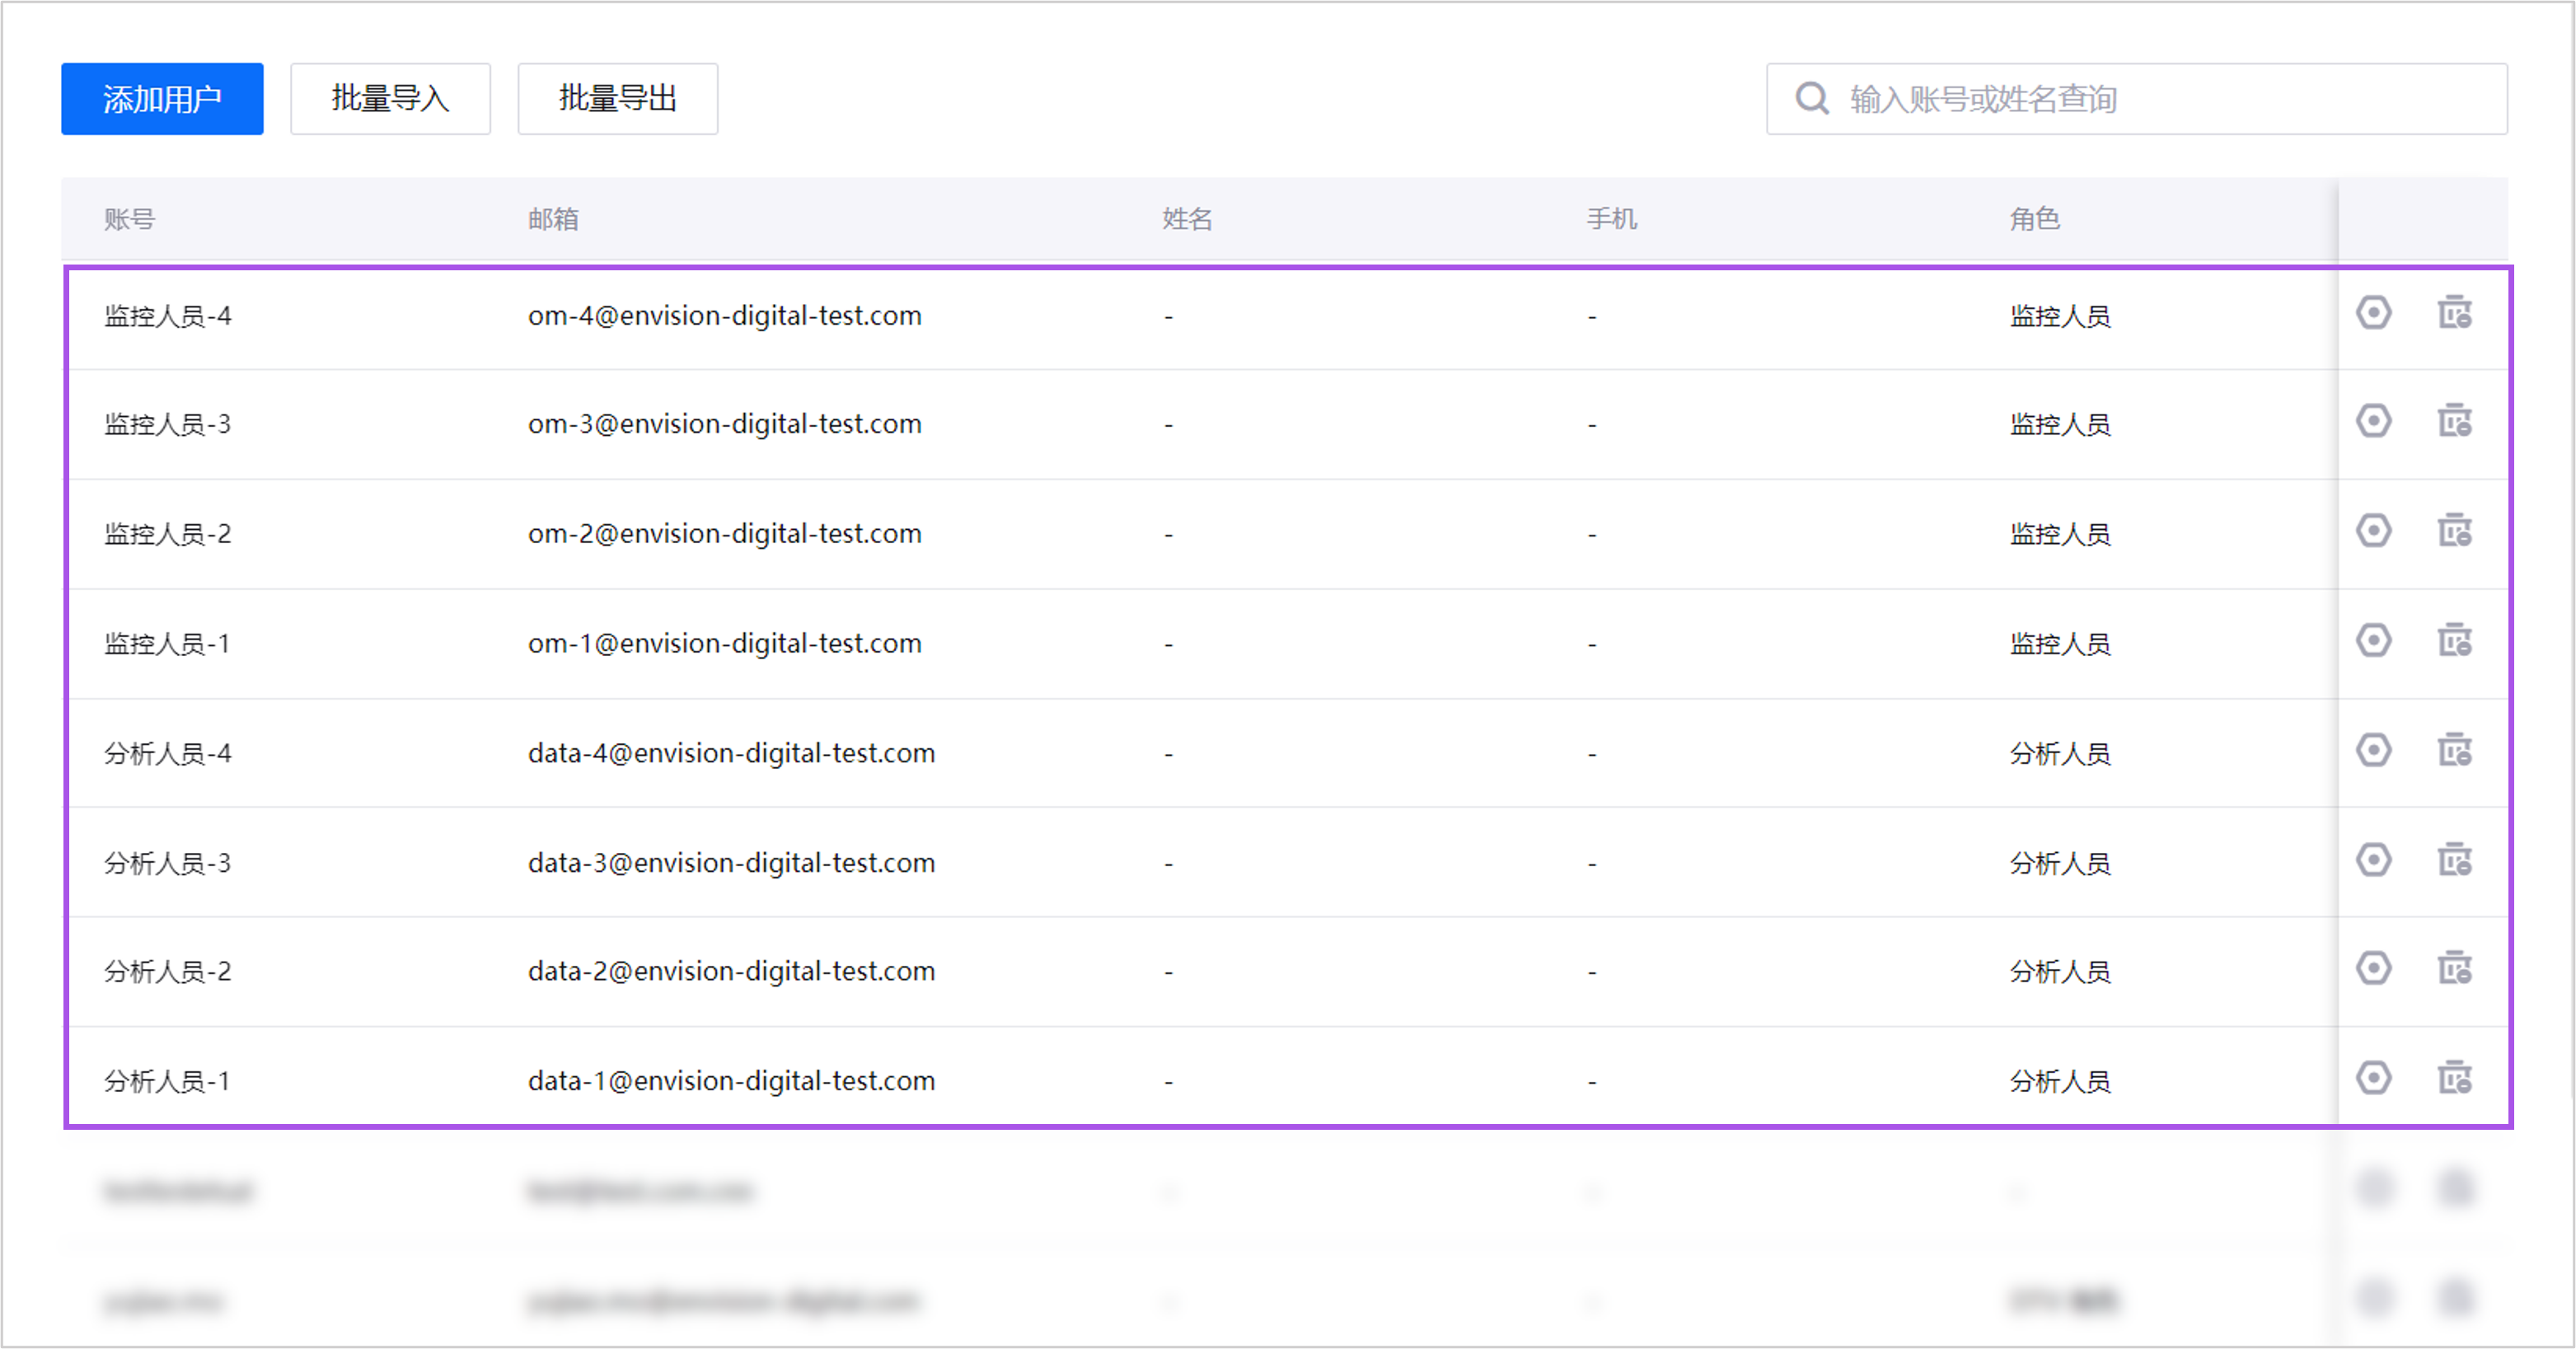
After users are added, select Users in the left navigation pane and view the imported user accounts in the user list.
For more information, see Batch Import Users.
Step 2: Assign Roles to Users
Note
In the batch import method, the sample user template already assigns roles to users. If you have imported the sample user template, you can skip this step.
Follow these steps to assign roles to users, enabling them to access application menus (menu groups), perform application operations (operational permissions), and view organizational structure information (visible organization structures):
In the left navigation pane of the EnOS Application Portal Admin Console, select Users.
Select Manage
 for the user
 Analyst-1.On the user details page, select Assign Role, then choose Analyst in the pop-up window.
Select Confirm.
Repeat the above steps to assign the corresponding roles to the following users.
User
Role
Analyst-2
Analyst
Analyst-3
Analyst
Analyst-4
Analyst
Monitoring Personnel-1
Monitoring Personnel
Monitoring Personnel-2
Monitoring Personnel
Monitoring Personnel-3
Monitoring Personnel
Monitoring Personnel-4
Monitoring Personnel
For more information, see Assign Roles to Users.
Step 3: Assign Organization Structure Nodes to Users
Note
In the batch import method, the sample user template already assigns organization structure nodes to users. If you have imported the sample user template, you can skip this step.
The organization structure is the primary method for managing user resource access permissions. Follow these steps to assign organization structure nodes to users, allowing them to view resources under these nodes in related applications:
In the left navigation pane of the EnOS Application Portal Admin Console, select Users.
Select Manage
for the user Analyst-1.On the user details page, select Assign Organization Structure, then choose the Group > Eastern Branch node in the pop-up window.
Select Confirm.
Repeat the above steps to assign the corresponding organization structure nodes to the following users.
User
Node
Analyst-2
Group > Eastern Branch
Analyst-3
Group > Southern Branch
Analyst-4
Group > Southern Branch
Monitoring Personnel-1
Group > Eastern Branch > Eastern Wind Farm 1
Monitoring Personnel-2
Group > Eastern Branch > Eastern Solar Power Station 1
Monitoring Personnel-3
Group > Southern Branch > Southern Wind Farm 1
Monitoring Personnel-4
Group > Southern Branch > Southern Wind Farm 2
For more information, see Assign Organization Structure Nodes to Users.
Step 4: Assign User Groups to Users
Note
In the batch import method, the sample user template already assigns user groups to users. If you have imported the sample user template, you can skip this step.
User groups are a secondary method for managing user resource permissions. They are useful in the following scenarios:
When resource access permissions need to be granted to only some users within an organization structure node.
When resource access permissions need to be granted to users across multiple organization structures.
Follow these steps to assign user groups to users, enabling them to view resources assigned to these user groups in related applications:
In the left navigation pane of the EnOS Application Portal Admin Console, select Users.
Select Manage
for the user Analyst-1.On the user details page, select Assign User Group, then choose the
Wind Turbine Analystsuser group in the pop-up window.Select Confirm.
Repeat the above steps to add the
Analyst-3user to theWind Turbine Analystsuser group.
For more information, see Assign User Groups to Users.
Results
After completing the above steps, the menu groups (menu access permissions), application operations (application operational permissions), and resource information (resource access permissions) accessible to each user are as follows.
User |
Menu Access Permissions |
Resource Access Permissions |
Application Operational Permissions |
|---|---|---|---|
Analyst-1 |
Can access the following menus:
|
Can access the following resources:
|
Can perform the following operations:
|
Analyst-2 |
Can access the following menus:
|
Can access all resources under the Eastern Branch (WT-1, WT-2, PV-1, PV-2). |
Can perform the following operations:
|
Analyst-3 |
Can access the following menus:
|
Can access the following resources:
|
Can perform the following operations:
|
Analyst-4 |
Can access the following menus:
|
Can access all resources under the Southern Branch (WT-3, WT-4, WT-5, WT-6). |
Can perform the following operations:
|
Monitoring Personnel-1 |
Can access the following menus:
|
Can access all resources in Eastern Wind Farm 1 (WT-1, WT-2). |
Can perform the following operations:
|
Monitoring Personnel-2 |
Can access the following menus:
|
Can access all resources in Eastern Solar Power Station 1 (PV-1, PV-2). |
Can perform the following operations:
|
Monitoring Personnel-3 |
Can access the following menus:
|
Can access all resources in Southern Wind Farm 1 (WT-3, WT-4). |
Can perform the following operations:
|
Monitoring Personnel-4 |
Can access the following menus:
|
Can access all resources in Southern Wind Farm 2 (WT-5, WT-6). |
Can perform the following operations:
|