Unit 7: Configuring Permissions
Operator |
Operation Location |
|---|---|
OU Administrator |
EnOS Application Portal > Admin Console |
This unit explains how OU administrators manage permission information through the following methods:
Managing application access permissions (menu groups), application operation permissions (operational permissions), and organization structure viewing permissions (visible organization structures) by assigning roles.
Batch managing asset permissions by assigning user groups.
Step 1: Configuring Role Permissions
Roles include menu group access permissions, application operation permissions, and organization structure viewing permissions, determining which application menus users can access, which operations they can perform, and which organization structures they can view. Follow these steps to create new roles and configure permissions based on personnel in the Scenario Description:
Log in to the EnOS Application Portal, click the Console icon
 in the upper-right corner, and select Admin Console.
Select Roles in the left navigation pane to open the Roles page.
Select New Role, enter the name (e.g.,
Monitoring Personnel) and description (e.g.,Personnel responsible for monitoring asset status) of the new role in the pop-up window, and select Submit.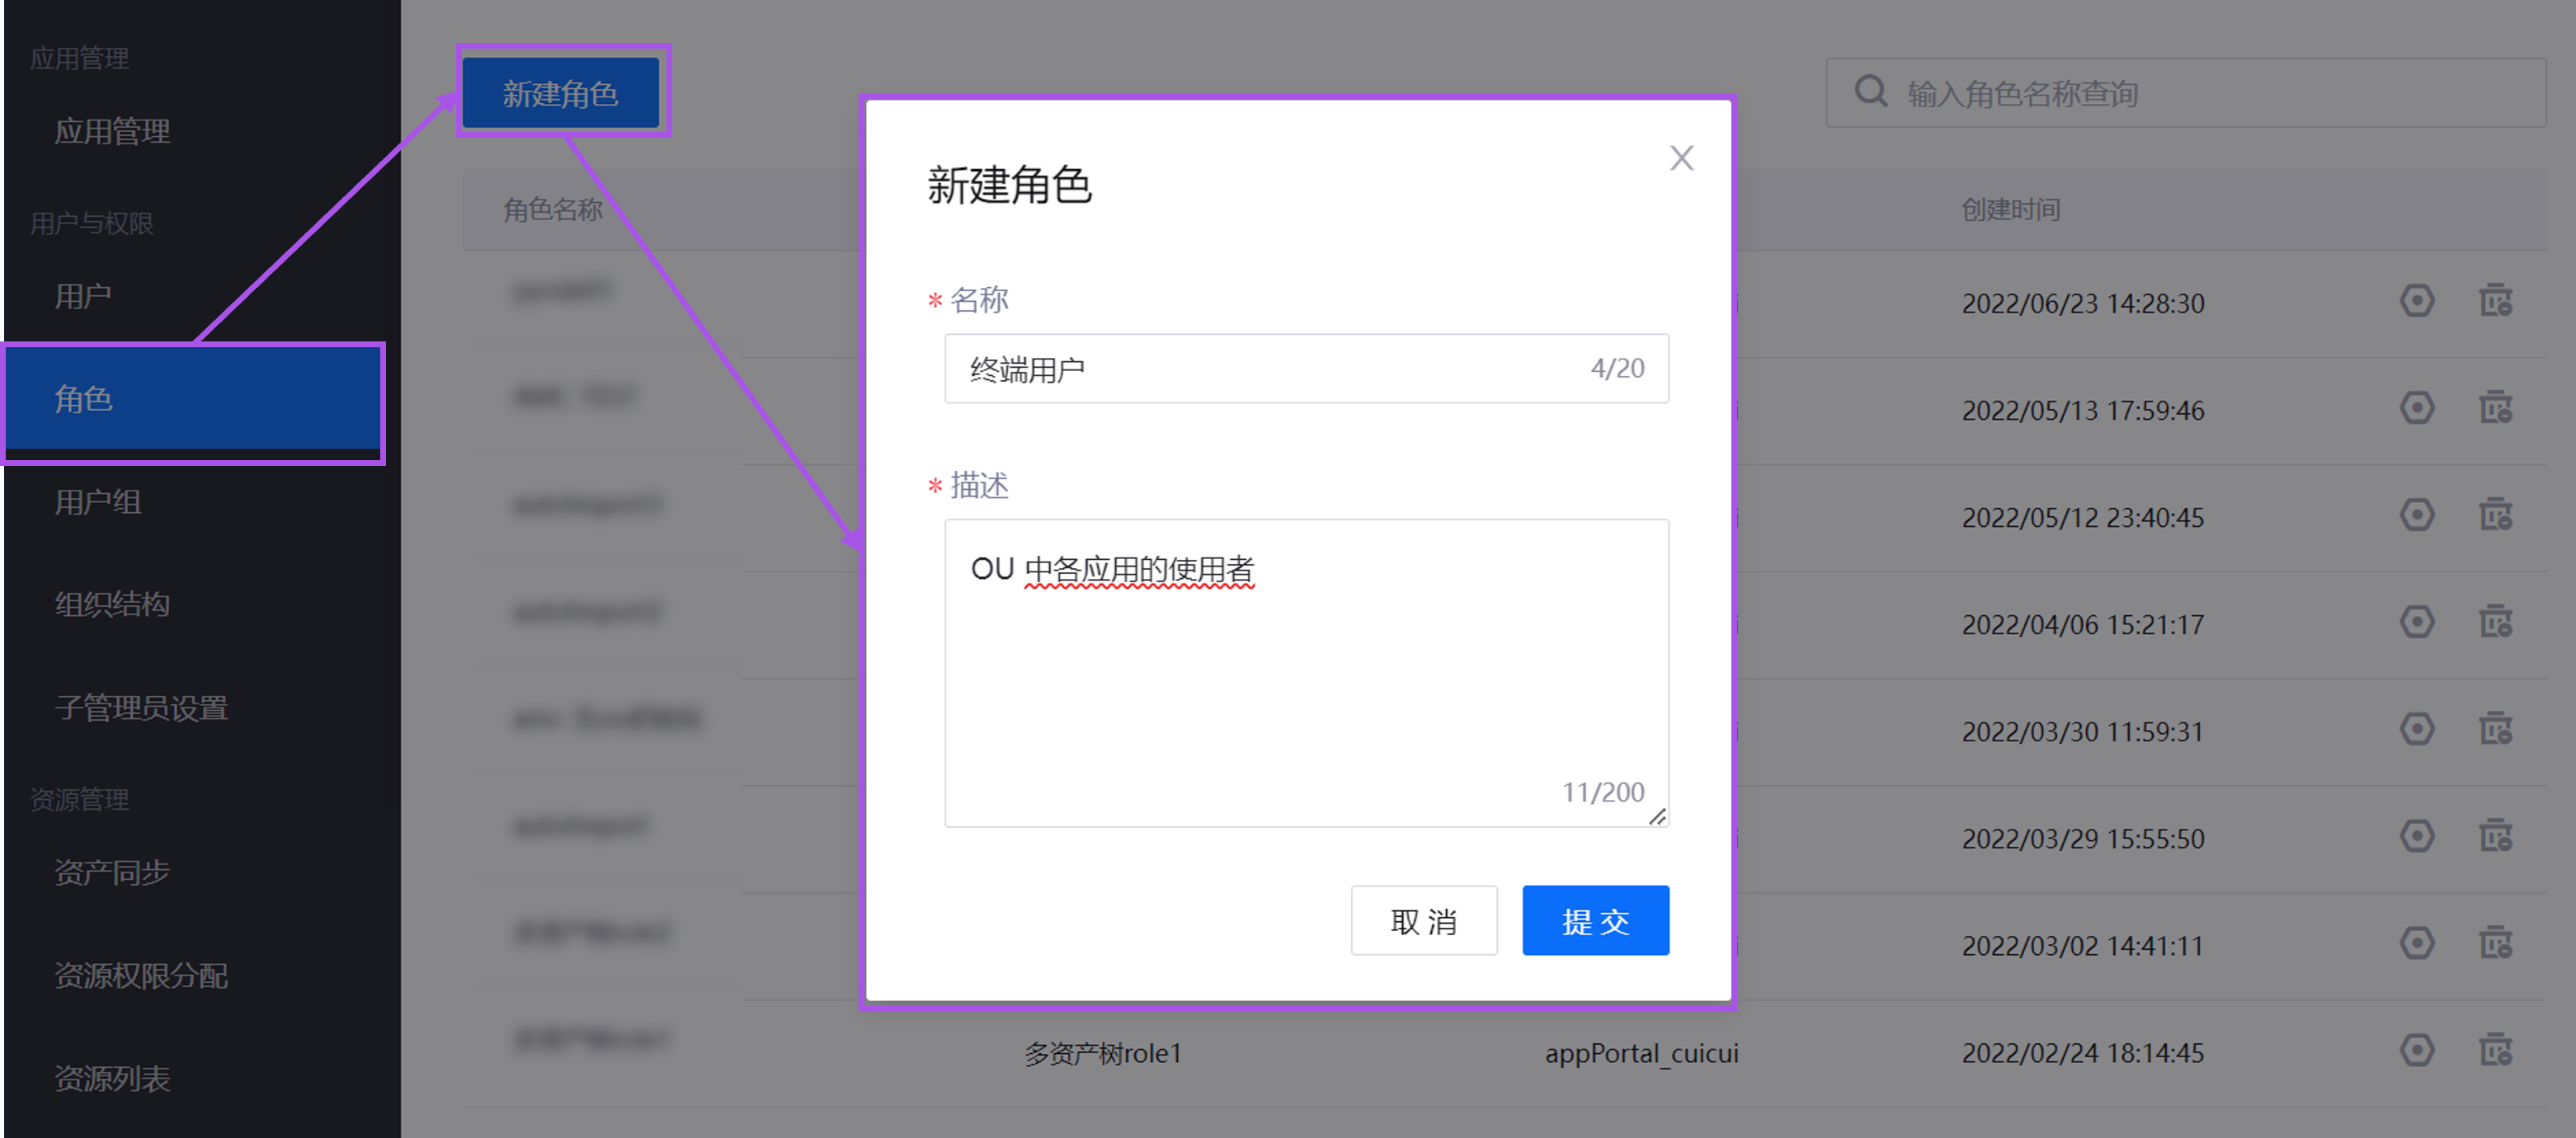
In the role list, select Manage
 in the row of the newly created role to open the Role Details page.
Select Assign Menu Group and perform the following operations:
In the Select Application pop-up window, select Monitoring Center, then select Monitoring Personnel Menu Group in the Select Menu Group pop-up window, and click Confirm.
In the Select Application pop-up window, select Integrated Monitoring, then select Integrated Menu Group in the Select Menu Group pop-up window, and click Confirm.
Select Assign Operational Permissions and perform the following operations:
In the Select Application pop-up window, select Monitoring Center, then select Edit Widget and Control Assets in the Select Operational Permissions pop-up window, and click Confirm.
In the Select Application pop-up window, select Integrated Monitoring, then select Edit Widget and Control Assets in the Select Operational Permissions pop-up window, and click Confirm. Note: Operational permissions for applications are set during application registration. This is optional; if no operational permissions were set during registration, there is no need to assign them here.
Select Assign Organization Structure and perform the following operations:
In the Select Application pop-up window, select Monitoring Center, then select Group in the Select Operational Permissions pop-up window, and click Confirm.
In the Select Application pop-up window, select Integrated Monitoring, then select Group in the Select Operational Permissions pop-up window, and click Confirm.
Repeat the above steps to create another role named
Analystand configure the following permissions.Permission Type
Name
Source Application
Menu Group
Analyst Menu Group
Monitoring Center
Menu Group
Integrated Menu Group
Integrated Monitoring
Operational Permission
Configure Page Functions
Monitoring Center
Operational Permission
Manage Widgets and Templates
Monitoring Center
Operational Permission
Configure Page Functions
Integrated Monitoring
Operational Permission
Manage Widgets and Templates
Integrated Monitoring
Organization Structure
Group
Monitoring Center
Organization Structure
Group
Integrated Monitoring
Note
Since this tutorial was conducted in the Beta3 test environment, operational permission configurations for applications are incomplete. If corresponding operational permissions cannot be found in related applications, contact the product manager. The tutorial process is for reference only.
For more information, see Managing Roles.
Step 2: Configuring User Group Permissions
User Groups are collections of users with the same resource access permissions and can be used in the following scenarios:
When only some users in an organization structure node need access to a specific resource.
When users who need access to a resource belong to different organization structures or nodes, user groups can be used to assign resource permissions to these users.
In this tutorial, assume that some analysts require access to all wind turbine data for analysis. The OU administrator should follow these steps to create a user group and configure resource access permissions:
Select User Groups in the left navigation pane of the EnOS Application Portal Admin Console.
Select New User Group, enter the user group name (e.g.,
Wind Turbine Analysts) and description (e.g.,Personnel analyzing all wind turbine data), and select Submit.Select Resource Permission Assignment in the left navigation pane of the EnOS Application Portal Admin Console.
Under the By User Group tab on the left, select the Wind Turbine Analysts user group, then select Add Resource on the right.
In the pop-up window, select the following wind turbine assets under Available Resources on the left and select Submit. Users imported into the Wind Turbine Analysts user group will now have access to all the listed wind turbine assets.
WT-1
WT-2
WT-3
WT-4
WT-5
WT-6
For more information, see Managing User Groups.