Grouping Widgets Using Containers
Containers enable you to group widgets and even organize widgets into tabs.

You can use containers when:
You want to keep widgets that display related information together
You want to display different types of widget in the same page area by using tabs
You want to have a structured page layout
As such, using containers is a great way to keep the dashboard clean and easy to use.
Adding a Container
Before you can use a container, you need to add it to your dashboard page first.
You can add a container by following these steps:
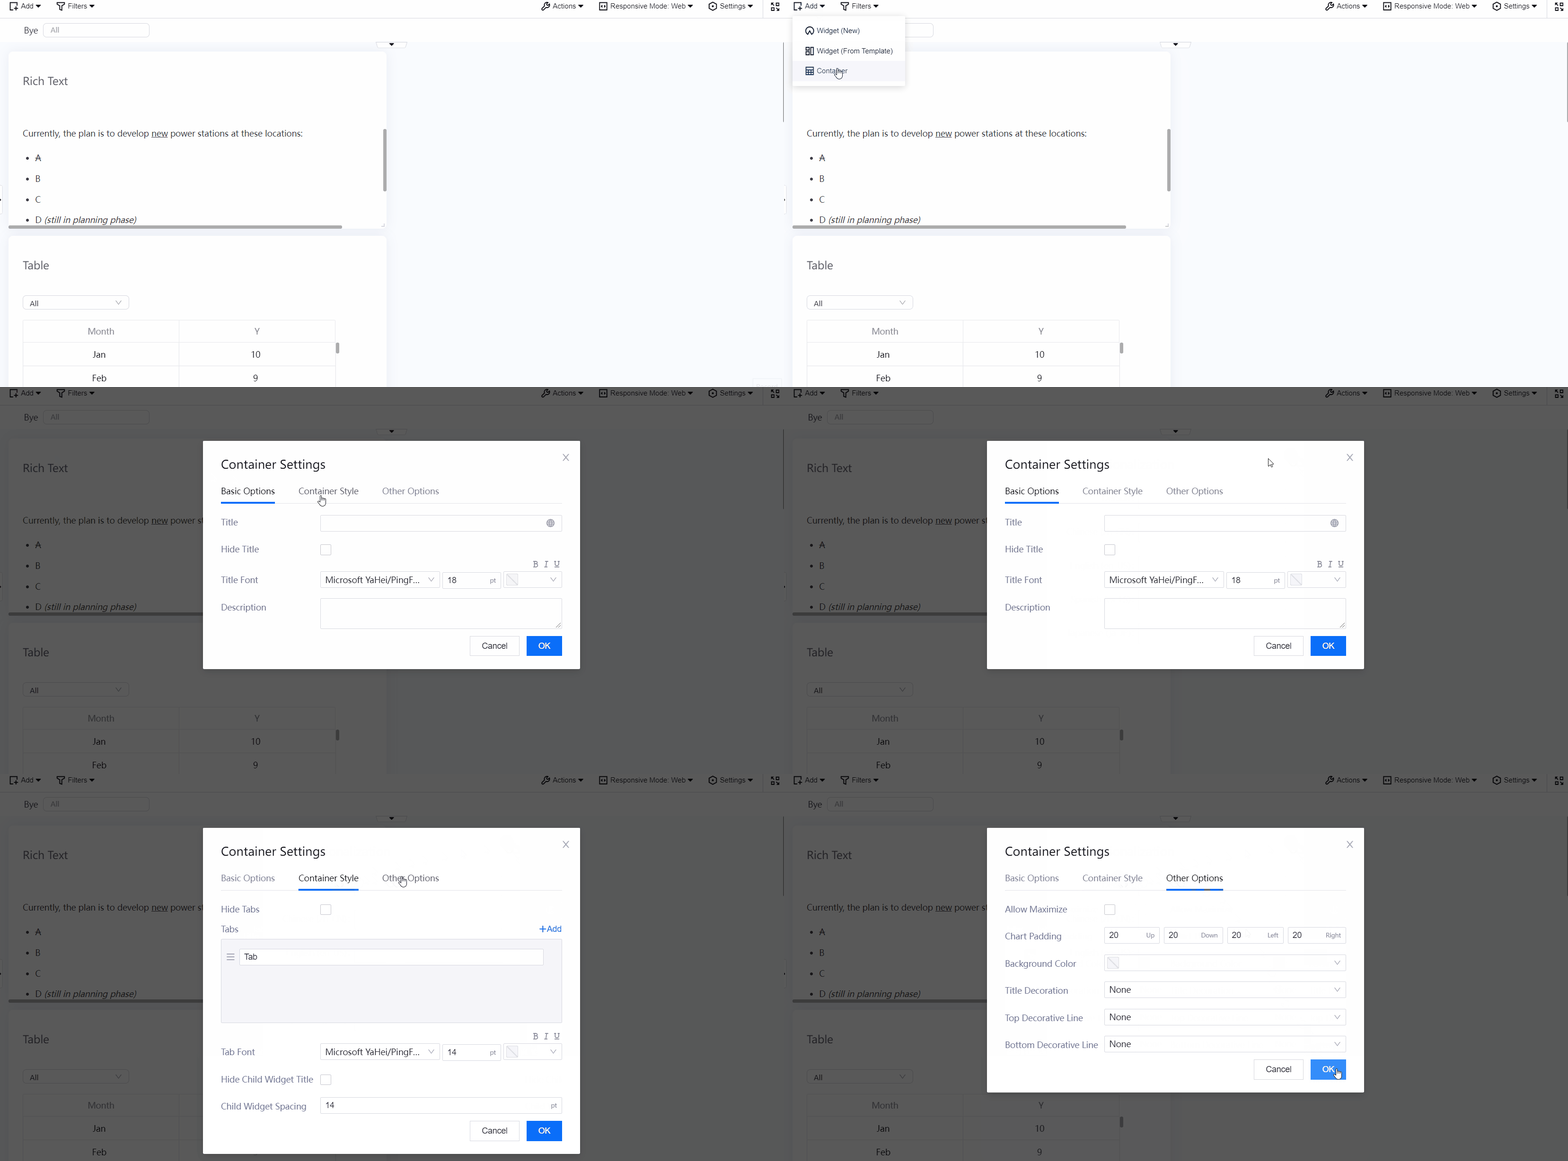
In the Page Editor, hover your cursor over Add and select Container.
Configure the settings in Basic Options as necessary.
Title: Specify the title of the container
Hide Title: Select this to hide the title
Title Font: Configure the font of the title
Description: Briefly describe your container
Configure the settings in Container Style as necessary.
Hide Tabs: Select this to hide the container tabs
Tabs: Click +Add to add new tabs, or you can specify the name of a tab
Tab Font: Configure the font of the tab names
Hide Child Widget Title: Select this to hide the title of all widgets in the container
Child Widget Spacing: Specify the amount of space between each child widget
Configure the settings in Other Options as necessary.
Chart Padding: Specify the amount of space between each boundary of the container and the content
Background Color: Select the background color of the container
Title Decoration: Select how you want to decorate the title
Top Decorative Line: Add a decorative line for the top boundary of the container
Bottom Decorative Line: Add a decorative line for the bottom boundary of the container

Adding Widgets into a Container
After you have added a container to the dashboard page, you can start to organize your widgets by adding them into the container.
You can add a widget into a container by following these steps:
In the Dashboard Editor, hover your cursor over the top right area of the widget and click Add to Container
 .
.Select the container you want to put the widget in.
Select the tab you want to put the widget in.
Moving Widgets out of a Container
If you decided to directly display some critical widgets on the dashboard page, you can move them out of their containers.
You can move a widget from its container to the canvas by following these steps:
Locate the widget to be removed.
Hover your cursor over the top right area of the widget.
Saving Containers as Templates
You can save ready built containers as a template to be reused by following these steps:
Locate the container you wish to save as template.
Click Save as template at the bottom of the pop up window.
Specify the Project Name for the container template.
Specify a name for the container template in the Template Name box.
Click OK.
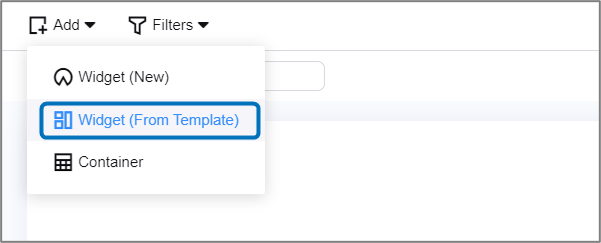
A template of your chosen container will be created. Saved templates can be found under Widgets (From Template) in the toolbar.

